
Apple Crisp
To make apple crisp, toss sliced apples with sugar, cinnamon, and lemon juice, then top with a mixture of oats, flour, brown sugar, and cold butter. Bake at 350°F for 45-50 minutes until the topping is golden and the apples are bubbling.
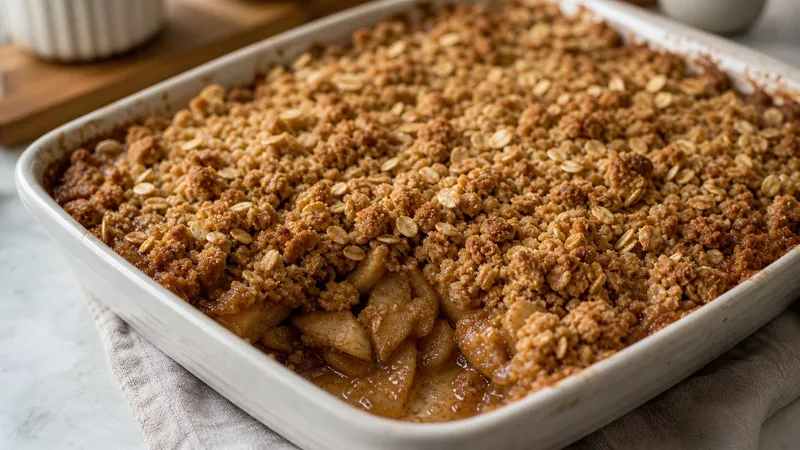
A good apple crisp should have two completely different personalities sharing one baking dish: soft, bubbling apples underneath and a craggy oat topping that actually crunches. This version starts with three pounds of apples sliced about 1/4 inch thick and tossed with sugar, lemon juice, cinnamon, and nutmeg. Using both tart and sweeter apples gives the filling more range, but the bigger texture decision happens upstairs. Old-fashioned oats, flour, brown sugar, salt, cinnamon, and cold cubes of butter get worked together only until the mixture looks coarse and clumpy. Cold butter is the point; melted butter turns a crisp topping into something much closer to damp roofing material.
Spread that topping loosely over the fruit and leave it alone—packing it down blocks the little pockets where heat can crisp the oats and flour. At 350°F, the apple juices should be bubbling around the edges by the time the top reaches a deep golden brown, usually around 45 to 50 minutes. Then comes the difficult technical step nobody enjoys: waiting at least 10 minutes before digging in so the juices can thicken instead of flooding the bowl. Add vanilla ice cream while the crisp is still warm and you have cold cream, hot fruit, buttery crunch, and enough cinnamon in the air to make the entire house suddenly seem better managed than it really is.
Ingredients
- 3 pounds apples (about 6-7 medium), peeled, cored, and sliced 1/4-inch thick
- 2 tablespoons granulated sugar
- 1 tablespoon fresh lemon juice
- 1 teaspoon ground cinnamon, divided
- 1/4 teaspoon ground nutmeg
- 1 cup old-fashioned rolled oats
- 3/4 cup all-purpose flour
- 3/4 cup packed light brown sugar
- 1/4 teaspoon fine salt
- 1/2 cup (1 stick / 8 tablespoons) unsalted butter, cold, cut into small cubes
Instructions
- 1Preheat your oven to 350°F (175°C). Lightly butter a 9x13-inch baking dish or equivalent 3-quart baking dish.
- 2Peel, core, and slice the apples to about 1/4-inch thickness. Try to keep them even — thicker slices stay firmer and thinner ones get very soft, so pick your preference. Toss the sliced apples in the baking dish with the granulated sugar, lemon juice, 1/2 teaspoon of the cinnamon, and the nutmeg. Spread them into an even layer.
- 3In a medium bowl, whisk together the rolled oats, flour, brown sugar, remaining 1/2 teaspoon cinnamon, and salt.
- 4Add the cold cubed butter to the oat mixture. Using your fingertips, work the butter into the dry ingredients by pressing and rubbing until the mixture resembles coarse, clumpy sand. Some pea-sized butter chunks are fine and actually good — they create pockets of crunch. Do not melt the butter first. The butter must be cold.
- 5Spread the topping evenly over the apple layer. Don't pack it down — leave it loose so air can move through and the top gets genuinely crispy.
- 6Bake uncovered at 350°F for 45-50 minutes, until the topping is deep golden brown and the apple juices are bubbling up around the edges. If the topping browns before the apples are tender, tent loosely with foil for the last 10 minutes.
- 7Remove from the oven and let rest for at least 10 minutes before serving. The juices will thicken slightly as it cools. Serve warm, with vanilla ice cream or whipped cream if you are a reasonable person.
Nutrition Information
Estimated per serving: 1 of 8 servings.
Estimated from the ingredients and quantities in this recipe using standard food-composition values. Brand choices, trimming, cooking loss, optional ingredients, and actual portion size can change the numbers. How we calculate nutrition estimates.
Pro Tips
- Use a mix of apple varieties for the best flavor — one tart (Granny Smith) and one sweeter (Honeycrisp or Braeburn) gives you complexity. All one type works fine, but all sweet apples can make the filling cloying.
- Cold butter is non-negotiable for the topping. If your kitchen is warm, cube the butter and put it back in the freezer for 10 minutes before you work it in. Warm butter makes the topping paste into a slab instead of crumbling, and a slab is not what we are here for.
- The crisp is done when the juices are actively bubbling, not just sort of threatening to. Pull it out before that and the apples will still be a little raw in the center, and you will be sad. Let the bubbling be your signal, not just the color of the top.
Substitutions
Storage Instructions
Cover and store leftover apple crisp at room temperature for up to 2 days, or refrigerate for up to 5 days. Reheat in a 350°F oven for 10-15 minutes to restore topping crunch. Microwaving works but softens the topping significantly. Freeze baked crisp for up to 3 months — thaw overnight in the refrigerator and reheat in the oven.
Make Ahead
Assemble the apple filling and topping separately up to 24 hours ahead. Store the filling in the baking dish covered in the refrigerator, and the topping in a covered bowl in the refrigerator. When ready to bake, top the chilled filling and add 5 extra minutes to the bake time. You can also fully bake the crisp a day ahead and reheat at 350°F for 15 minutes.
More Like This
 Air Fryer Apple Hand PiesBoth feature Apple
 French Apple CakeBoth feature Apple
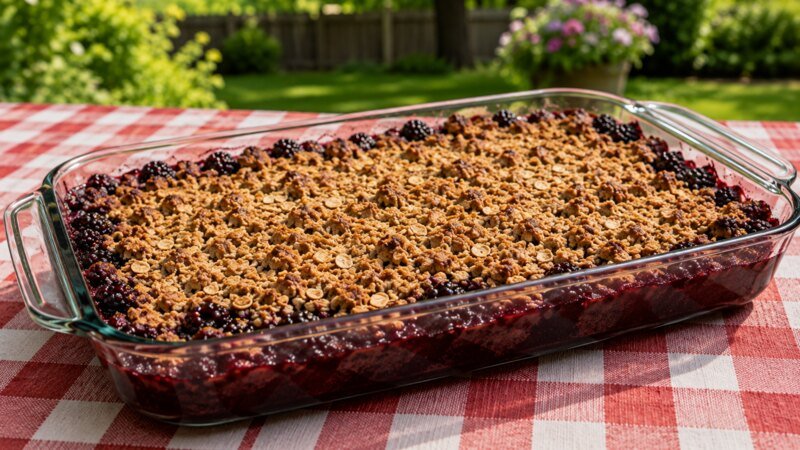 Blackberry CrispSame method: Oven
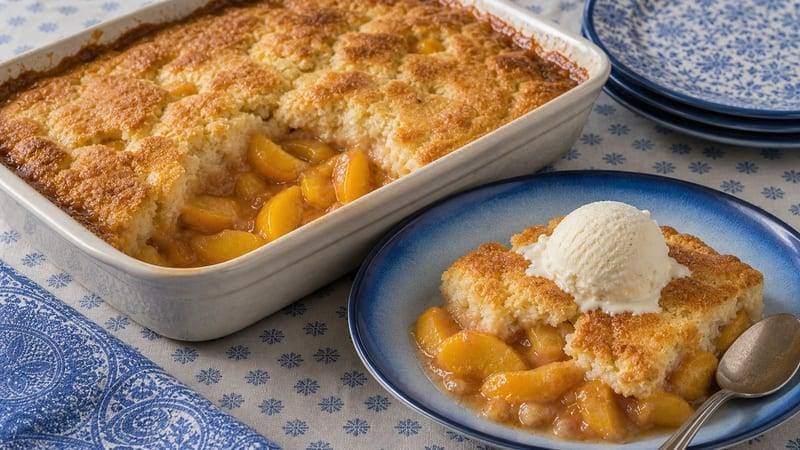 Peach CobblerSame method: Oven