


One-Pot Chicken and Rice
Season chicken thighs and sear them in a Dutch oven or deep skillet, then cook aromatics, add rice and broth, and simmer covered for 20-25 minutes until the rice is tender and the chicken is cooked through to 165°F. The whole dish comes together in one pot in about 45 minutes.
One-pot chicken and rice has a reputation for being easy, which is true right up until the rice is crunchy, the skin is pale, or the bottom of the pot has developed a legal claim to the food. This version avoids most of that by treating the chicken and rice like separate jobs before asking them to finish together. Bone-in, skin-on thighs get dried, seasoned, and seared until deeply golden; the browned bits stay in the pot to flavor the onion, garlic, and rice.
Rinsed long-grain rice gets toasted briefly in the fat before chicken broth, water, thyme, and a bay leaf go in. The thighs return skin-side up, with the skin sitting above the liquid as much as possible, then the pot cooks covered over low heat until the rice is tender and the chicken reaches 165°F.The hardest part is leaving the lid alone. Every peek releases steam the rice needs, so set the timer and develop a temporary hobby. Once it is done, give the covered pot another five minutes off the heat. That final steam evens out the rice while the chicken rests, and suddenly the “one-pot” promise feels less like marketing and more like somebody actually did the math.
Ingredients
- 4 bone-in, skin-on chicken thighs (about 2 lbs total)
- 1 teaspoon kosher salt, plus more to taste
- 1/2 teaspoon black pepper
- 1 teaspoon garlic powder
- 1 teaspoon smoked paprika
- 1/2 teaspoon onion powder
- 1 tablespoon olive oil
- 1 tablespoon unsalted butter
- 1 medium yellow onion, diced
- 4 cloves garlic, minced
- 1 1/2 cups long-grain white rice, rinsed
- 2 1/2 cups low-sodium chicken broth
- 1/2 cup water
- 1 teaspoon dried thyme
- 1 bay leaf
- Fresh parsley, chopped, for serving
Instructions
- 1Pat the chicken thighs completely dry with paper towels — this is not optional if you want a proper sear. Mix the salt, pepper, garlic powder, smoked paprika, and onion powder in a small bowl, then rub the mixture all over both sides of the chicken.
- 2Heat the olive oil in a large Dutch oven or deep, heavy-bottomed skillet over medium-high heat until shimmering. Add the chicken thighs skin-side down and sear without moving them for 5-6 minutes, until the skin is deep golden brown. Flip and sear the other side for 3 minutes. The chicken does not need to be cooked through yet. Remove to a plate and set aside.
- 3Reduce the heat to medium. Pour off all but about 1 tablespoon of fat from the pot, leaving the browned bits on the bottom — those are flavor, not a mistake. Add the butter and let it melt, then add the diced onion. Cook, stirring occasionally, for 4-5 minutes until softened and translucent.
- 4Add the minced garlic and cook for 1 minute, stirring constantly, until fragrant. It will go from raw to golden fast, so stay close.
- 5Add the rinsed rice to the pot and stir it into the onion and garlic, coating every grain in the fat. Toast the rice for 1-2 minutes, stirring frequently. It should smell slightly nutty. This step is the difference between rice that has something to say and rice that doesn't.
- 6Pour in the chicken broth and water. Add the dried thyme and bay leaf. Stir to combine and scrape up any browned bits from the bottom of the pot. Taste the liquid and add salt if needed — it should taste well-seasoned, because the rice will absorb it.
- 7Nestle the seared chicken thighs back into the pot, skin-side up, pressing them gently into the rice. The skin should sit above the liquid level so it stays as crispy as possible in a covered pot, which is to say: reasonably crispy.
- 8Bring the liquid to a boil, then reduce the heat to low. Cover tightly and cook for 20-22 minutes, until the rice is tender and has absorbed the liquid, and the chicken registers 165°F on an instant-read thermometer. Cook poultry until the thickest piece reaches 165°F on an instant-read thermometer.
- 9Remove the pot from heat and let it rest, still covered, for 5 minutes. This is not decorative. The rice finishes steaming and the chicken redistributes its juices during this time. Remove the bay leaf, top with fresh parsley, and serve directly from the pot.
Nutrition Information
Estimated per serving: 1 of 4 servings.
Estimated from the ingredients and quantities in this recipe using standard food-composition values. Brand choices, trimming, cooking loss, optional ingredients, and actual portion size can change the numbers. How we calculate nutrition estimates.
Pro Tips
- Rinse the rice until the water runs clear before adding it to the pot. The extra starch on unrinsed rice will make your final dish sticky and gummy in a way that is not appealing on any level.
- Do not lift the lid while the rice is cooking. Every time you check, steam escapes and you add two minutes to your life that you will spend anxiously re-covering the pot. Set a timer, walk away, trust the process.
- If your liquid absorbs before the rice is fully tender, add a splash of water — about 1/4 cup — replace the lid, and give it another 3-4 minutes. If your rice is tender but liquid remains, remove the lid and let it cook uncovered on low for a couple of minutes. The pot will sort itself out, it just needs a minute.
Substitutions
Storage Instructions
Store leftovers in an airtight container in the refrigerator for up to 4 days. Reheat in a skillet over medium-low with a splash of broth or water to revive the rice, or microwave covered with a damp paper towel on top. Freeze cooled leftovers in a freezer-safe container for up to 3 months; thaw overnight in the refrigerator before reheating.
Make Ahead
You can season the chicken and refrigerate it uncovered on a plate for up to 24 hours before cooking — the dry rub acts as a dry brine and the skin gets even crispier. Dice your onion and mince your garlic ahead of time and store them covered in the fridge. The full cooked dish doesn't benefit from being made more than a day ahead, as the rice continues to absorb moisture and the texture changes.
Make It a Meal
Pair this recipe with a side, bread, and something sweet from the FAFO Kitchen.
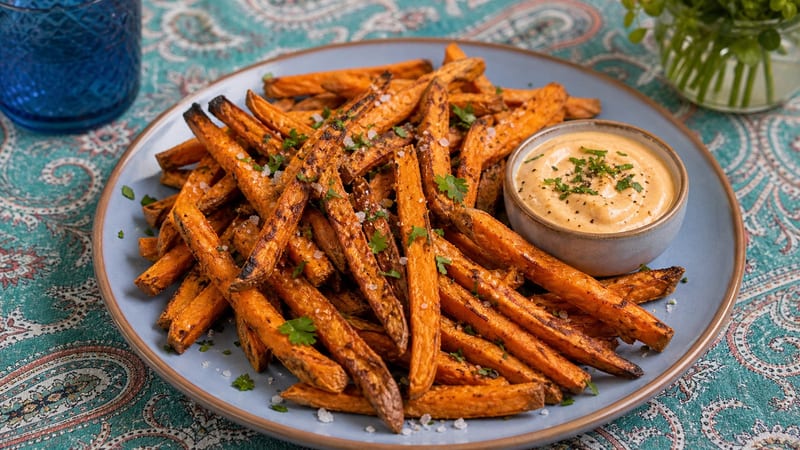
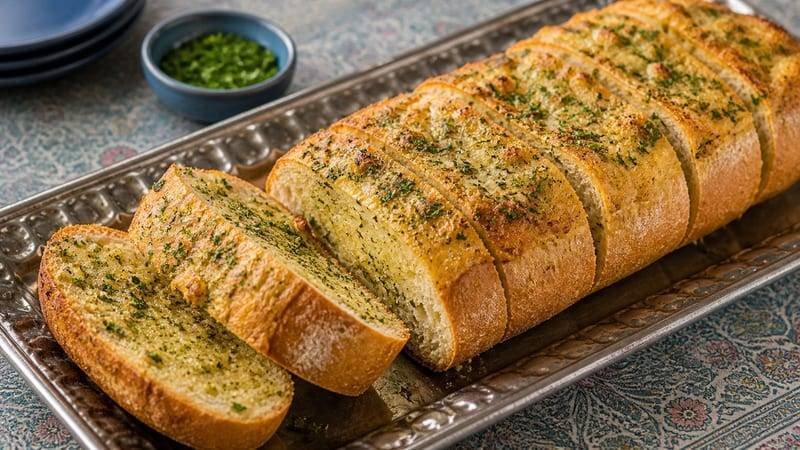
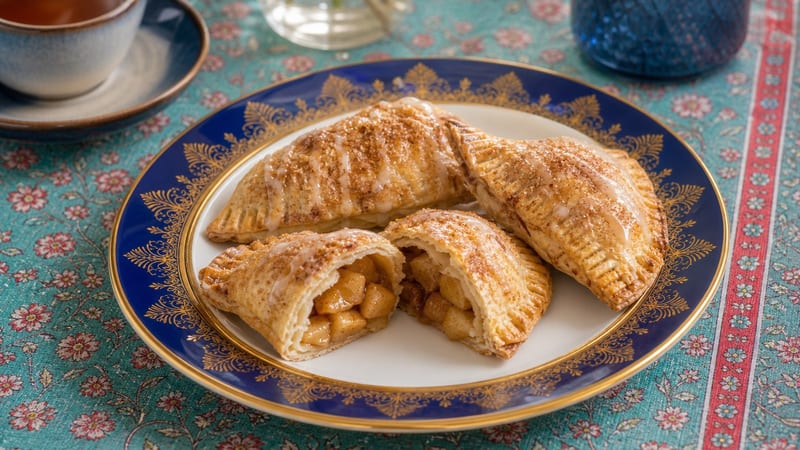
More Like This
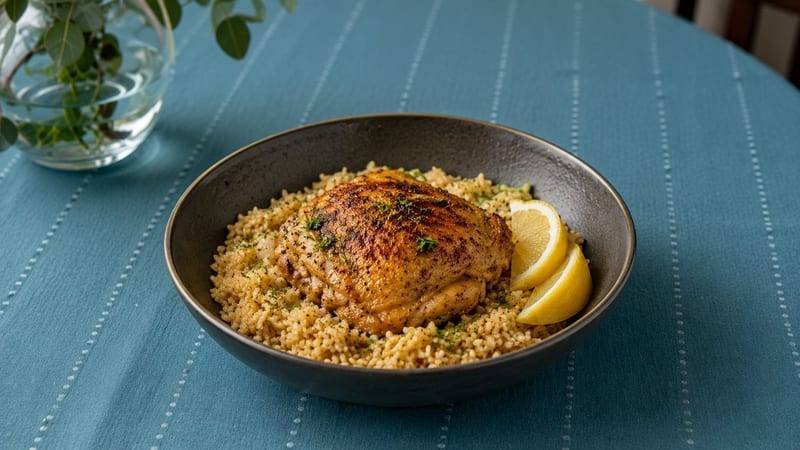 Garlic Herb Chicken and RiceBoth feature Rice
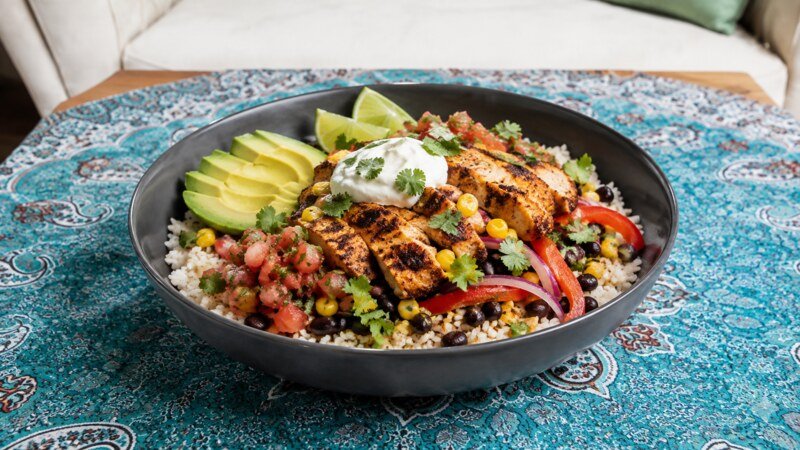 Southwest Chicken Rice BowlBoth feature Rice
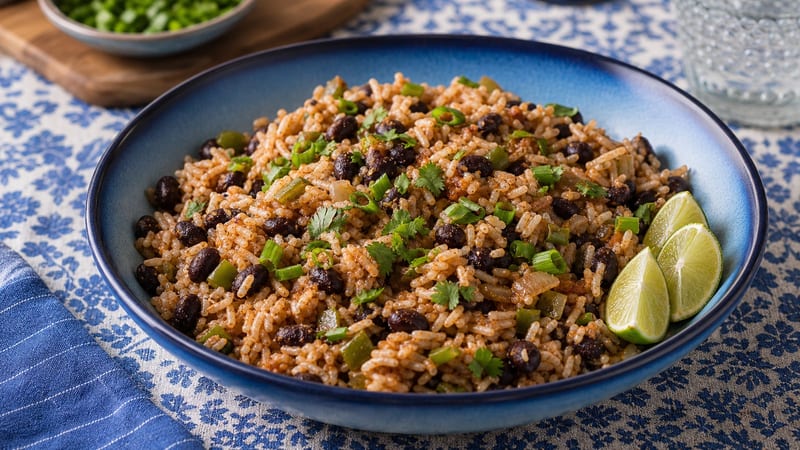 Rice and BeansBoth feature Rice
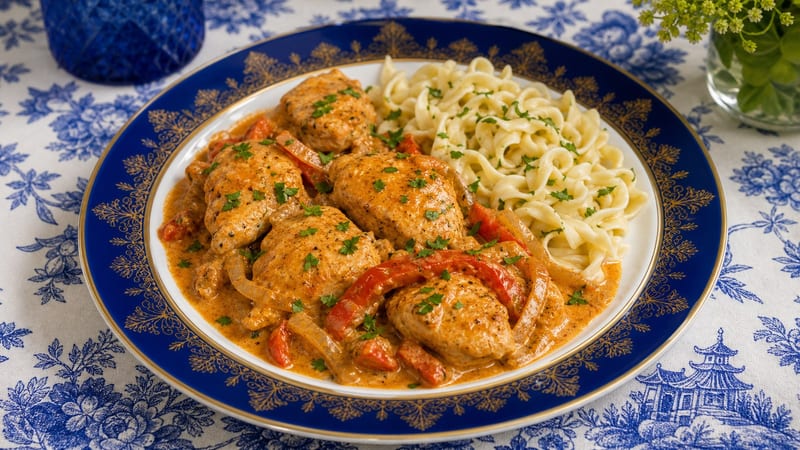 Creamy Paprika Chicken SkilletSame main ingredient: Chicken
You Might Also Like


Finish With Dessert

Try this next
Lemon Blueberry Bundt Cake
View recipe →