

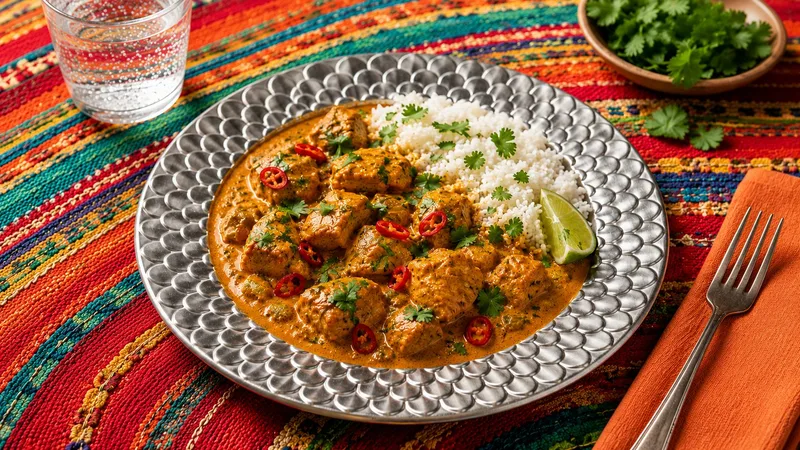
One-Pan Coconut Curry Chicken
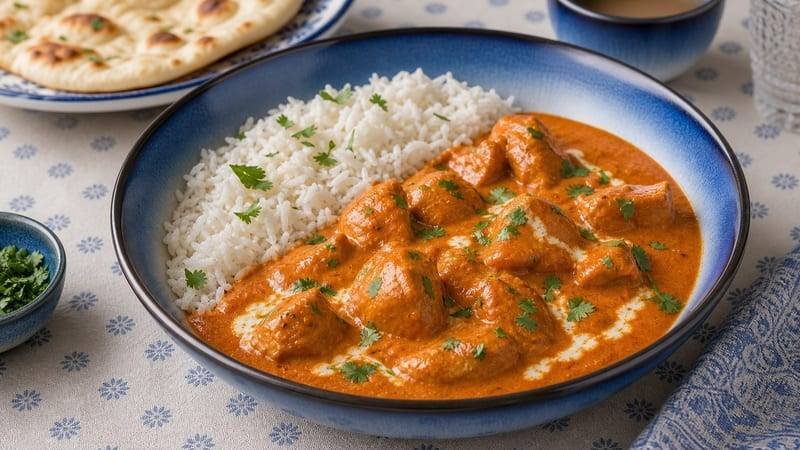
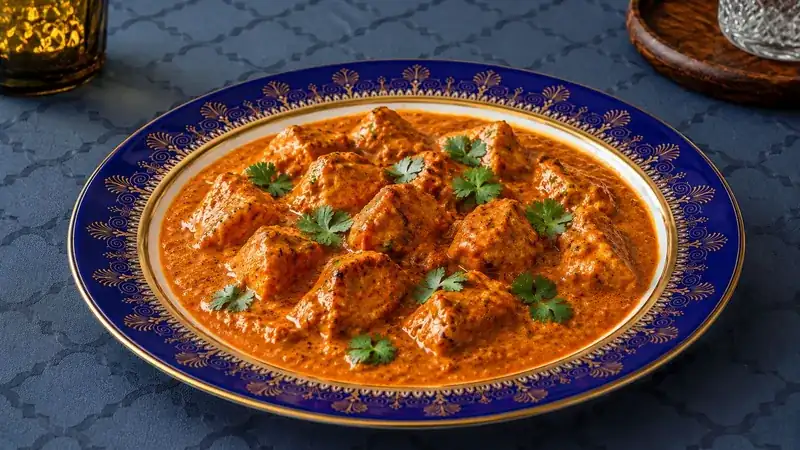
This one-pan coconut curry chicken sears bite-sized chicken thighs, then simmers them in full-fat coconut milk with red curry paste, garlic, and ginger until the sauce thickens. A squeeze of lime and fresh cilantro finish it off, and it's ready in about 35 minutes.
Coconut curry chicken is a 35-minute dinner that tastes like the sauce has been thinking about itself all afternoon. Boneless chicken thighs get a quick sear first, then onion, garlic, ginger, red curry paste, turmeric, cumin, and smoked paprika all hit the same pan. Blooming the curry paste and spices in the oil for about 90 seconds is the point where this goes from “ingredients in a skillet” to something that smells like dinner from two rooms away. Full-fat coconut milk and chicken broth loosen everything into a sauce, while fish sauce adds salt and depth and a small amount of sugar smooths the sharper edges. The seared chicken goes back in to simmer until the chicken hits 165°F while the coconut sauce tightens slightly. You are not trying to reduce it into paste; jasmine rice deserves something to absorb.
Lime juice goes in once the pan is off the heat, keeping that citrus brightness fresh, and cilantro plus sliced chile can finish the top. The result is creamy without being heavy, warmly spiced, salty, tangy, and just hot enough depending on your curry paste. It is also the kind of dinner that makes one skillet look suspiciously competent.
Ingredients
- 1.5 lbs boneless, skinless chicken thighs, cut into 1.5-inch pieces
- 1 tablespoon coconut oil or neutral vegetable oil
- 1 medium yellow onion, diced
- 4 cloves garlic, minced
- 1 tablespoon fresh ginger, grated (or 1 teaspoon ground ginger)
- 2 tablespoons red curry paste (check label — most are dairy free)
- 1 teaspoon ground turmeric
- 1 teaspoon ground cumin
- 1/2 teaspoon smoked paprika
- 1/2 teaspoon kosher salt, plus more to taste
- 1/4 teaspoon black pepper
- 1 can (13.5 oz) full-fat coconut milk
- 1/2 cup low-sodium chicken broth (or vegetable broth)
- 1 tablespoon fish sauce (or soy sauce for a pescatarian-free version)
- 1 teaspoon coconut sugar or regular sugar
- Juice of 1 lime
- 1/4 cup fresh cilantro, roughly chopped
- Cooked jasmine rice, for serving
- Optional: thinly sliced Thai chilies or red pepper flakes for heat
Instructions
- 1Pat the chicken pieces dry with paper towels and season lightly with salt and pepper. Drying the chicken matters — wet chicken steams instead of sears, and steamed chicken has no personality.
- 2Heat the oil in a large, heavy-bottomed skillet or Dutch oven over medium-high heat until shimmering, about 2 minutes.
- 3Add the chicken in a single layer. Sear without moving for 3 minutes until golden on one side. Flip and sear another 2 minutes. The chicken does not need to be cooked through yet. Transfer to a plate and set aside.
- 4Reduce heat to medium. Add the diced onion to the same pan and cook, stirring occasionally, for 4-5 minutes until softened and starting to turn golden.
- 5Add the garlic and grated ginger. Cook for 1 minute, stirring constantly, until fragrant. Watch this step — garlic burns fast and a burned garlic situation cannot be recovered from.
- 6Add the red curry paste, turmeric, cumin, and smoked paprika. Stir everything together and cook for 90 seconds, letting the spices bloom in the residual oil. The pan will look like something is going wrong. It is not going wrong. This is bloom.
- 7Pour in the coconut milk and chicken broth. Stir well, scraping up any browned bits from the bottom of the pan. Those bits are flavor. Do not waste them.
- 8Add the fish sauce and sugar. Stir to combine. Bring the sauce to a gentle simmer over medium heat.
- 9Return the seared chicken to the pan, nestling it into the sauce. Reduce heat to medium-low and simmer, uncovered, for 12-15 minutes until the chicken is cooked through (internal temperature of 165°F) and the sauce has thickened slightly.
- 10Remove from heat. Squeeze in the lime juice and stir. Taste the sauce and adjust salt as needed.
- 11Garnish with fresh cilantro and optional sliced chilies. Serve immediately over jasmine rice.
Nutrition Information
Estimated per serving: 1 of 4 servings.
Estimated from the ingredients and quantities in this recipe using standard food-composition values. Brand choices, trimming, cooking loss, optional ingredients, and actual portion size can change the numbers. How we calculate nutrition estimates.
Pro Tips
- Full-fat coconut milk only. Light coconut milk is coconut milk that has given up on itself. The fat is what gives this sauce its body and richness — do not compromise this.
- Read your curry paste label before buying. Most red curry pastes are naturally dairy free, but a few brands add shrimp paste, which matters for vegetarians. Thai Kitchen and Maesri are reliable choices widely available in grocery stores.
- If your sauce is thinner than you'd like after the simmer, remove the chicken with a slotted spoon, crank the heat to medium-high, and let the sauce reduce for 2-3 minutes while the chicken rests. The sauce will tighten without drying out the chicken.
Substitutions
Storage Instructions
Store leftovers in an airtight container in the refrigerator for up to 4 days. The flavors deepen overnight — this is genuinely better the next day. Reheat gently on the stovetop over medium-low heat with a splash of broth or water to loosen the sauce. Freezes well for up to 3 months; thaw overnight in the refrigerator before reheating.
Make Ahead
The sauce base (through the spice bloom and coconut milk addition) can be made up to 2 days ahead and refrigerated. When ready to cook, bring the sauce to a simmer, add the seared chicken, and proceed from step 9. Alternatively, the entire finished dish reheats beautifully and can be made a full day in advance.
Frequently Asked Questions
Can I make One-Pan Coconut Curry Chicken ahead of time?
Yes. The chicken and coconut-curry sauce can be cooked ahead, cooled promptly, and refrigerated together. Reheat gently so the coconut milk stays smooth, then add any fresh finishing herbs or lime only after the curry is hot.
How do I store leftover One-Pan Coconut Curry Chicken?
Store the leftovers in an airtight container in the refrigerator for up to 4 days. The flavors deepen overnight — this is genuinely better the next day. Reheat gently on the stovetop over medium-low heat with a splash of broth or water to loosen the sauce. Freezes well for up to 3 months; thaw overnight in the refrigerator before reheating.
Can I freeze One-Pan Coconut Curry Chicken after cooking?
Yes. Cool the chicken and coconut-curry sauce completely and freeze them together in airtight portions. Thaw in the refrigerator and reheat gently while stirring; coconut milk can look slightly separated if it is reheated too aggressively.
Can I substitute ingredients in One-Pan Coconut Curry Chicken?
Yes. Tested adjustments on this recipe include chicken thighs → chicken breast; chicken thighs → chickpeas and cauliflower florets; and fish sauce → soy sauce or coconut aminos.
What's the most common mistake when making One-Pan Coconut Curry Chicken?
Full-fat coconut milk only. Light coconut milk is coconut milk that has given up on itself. The fat is what gives this sauce its body and richness — do not compromise this.
Make It a Meal
Pair this recipe with a side, bread, and something sweet from the FAFO Kitchen.
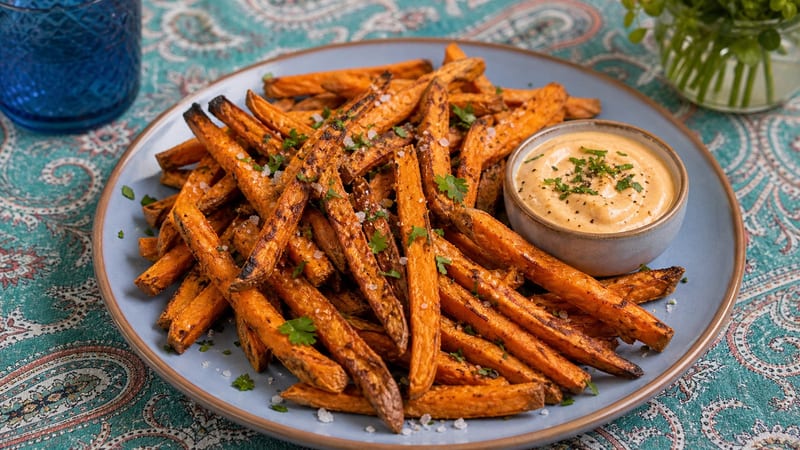
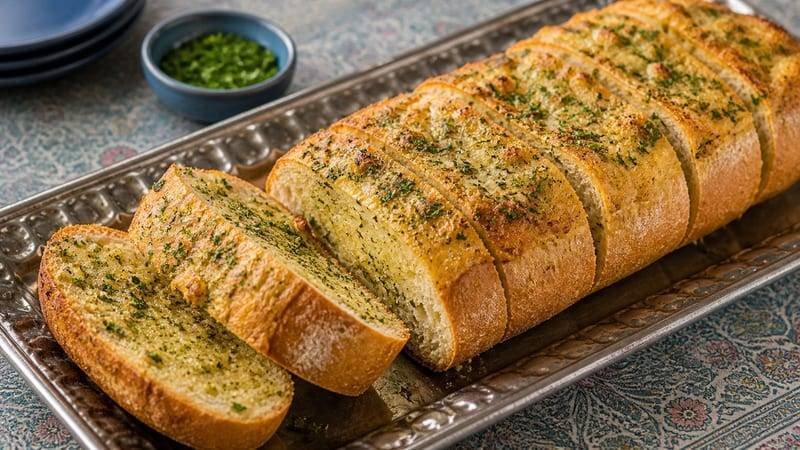
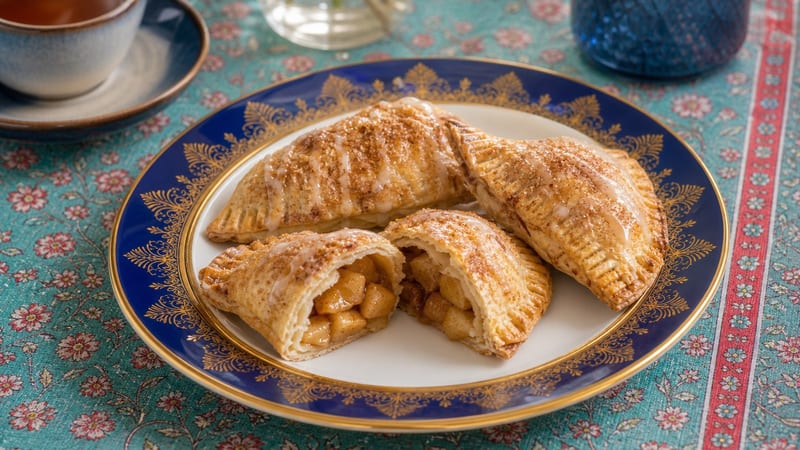
More Like This

You Might Also Like
Finish With Dessert
Try this next
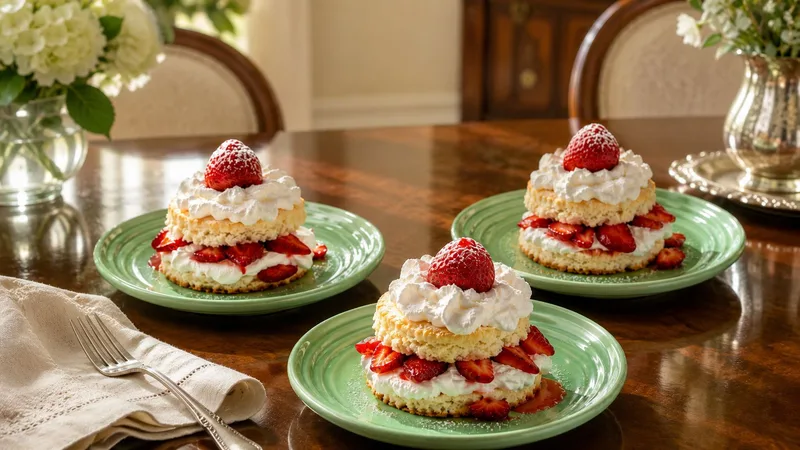
Strawberry Shortcake Recipe That Actually Tastes Right
View recipe →