

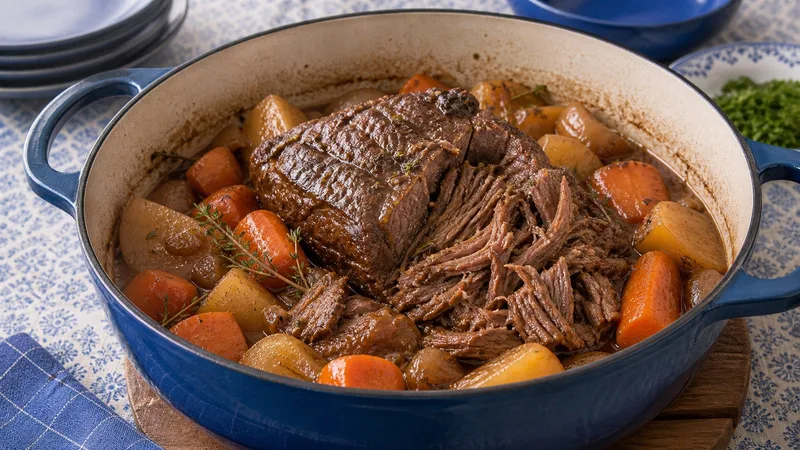
Pot Roast
To make pot roast, sear a 3-4 pound chuck roast in a Dutch oven, then braise it low and slow at 275°F with beef broth, aromatics, and vegetables for 3.5 to 4 hours. The roast is done when it pulls apart easily with two forks.
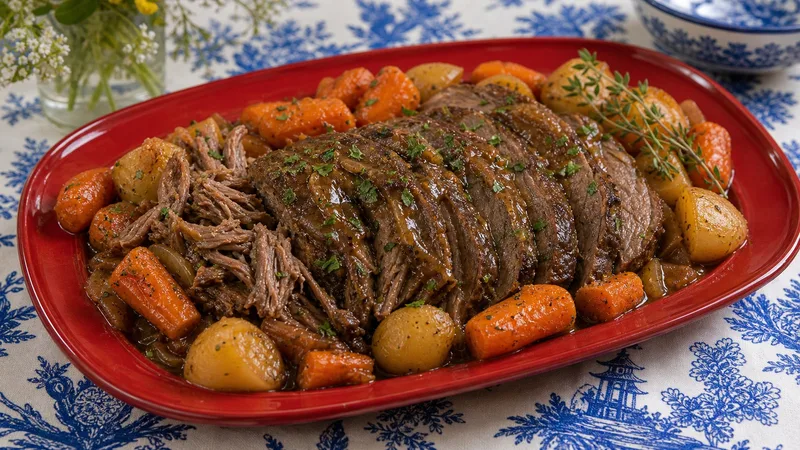
Pot roast is what chuck roast becomes after enough time and humility. Raw, it is a tough, heavily worked cut full of connective tissue. Four hours later, after a slow braise at 275°F, it can be pulled apart with a fork and served with carrots, potatoes, and gravy. That transformation is why pot roast should never be rushed. You cannot intimidate collagen with a higher oven temperature. People have tried.
The flavor starts before the braise. Dry the roast well, season it with salt, pepper, and garlic powder, then sear every side until deeply browned. Onion and garlic go into the same Dutch oven, followed by tomato paste that cooks until darker and sweeter. Red wine loosens the browned bits from the pot, then beef broth, Worcestershire, thyme, rosemary, and bay leaves build the braising liquid. The roast sits only partly submerged, so the top is braising in moist heat rather than boiling like a very expensive soup ingredient.
Carrots and Yukon Gold potatoes go in after the first two hours so they become tender without dissolving into the gravy. When the beef finally yields to a fork with almost no resistance, rest it briefly and thicken the cooking liquid if you want gravy. This is not elegant food. It is better: a whole Dutch oven full of dinner that smells like somebody knew exactly what they were doing all afternoon.
Ingredients
- 3 to 4 pounds boneless chuck roast
- 2 teaspoons kosher salt
- 1 teaspoon black pepper
- 1 teaspoon garlic powder
- 2 tablespoons olive oil or vegetable oil
- 1 large yellow onion, roughly chopped
- 4 cloves garlic, smashed
- 2 tablespoons tomato paste
- 2 cups beef broth
- 1 cup dry red wine (or additional beef broth)
- 1 tablespoon Worcestershire sauce
- 4 medium carrots, cut into 2-inch pieces
- 1.5 pounds baby Yukon Gold potatoes, halved
- 3 sprigs fresh thyme (or 1 teaspoon dried thyme)
- 2 sprigs fresh rosemary (or 1 teaspoon dried rosemary)
- 2 bay leaves
- 2 tablespoons cornstarch mixed with 2 tablespoons cold water (for gravy, optional)
Instructions
- 1Preheat your oven to 275°F. Pat the chuck roast completely dry with paper towels — moisture is the enemy of a good sear, and the sear is the foundation of everything.
- 2Mix the salt, pepper, and garlic powder together and season the roast generously on all sides. Don't be shy. Press it in.
- 3Heat the oil in a large Dutch oven over medium-high heat until shimmering. Add the roast and sear without moving it for 4 to 5 minutes per side, including the edges, until a deep brown crust forms. Remove the roast and set it aside on a plate.
- 4Reduce heat to medium. Add the onion to the same pot and cook, stirring occasionally, for 3 minutes until softened. Add the smashed garlic and cook another 1 minute.
- 5Push the onions to the side and add the tomato paste. Let it cook, stirring, for 1 to 2 minutes until it darkens slightly and smells sweet. This step matters more than it looks.
- 6Pour in the red wine and scrape up every browned bit from the bottom of the pot. Those bits are not burnt — they are the entire point. Let the wine reduce for 2 minutes.
- 7Add the beef broth and Worcestershire sauce. Stir to combine. Nestle the roast back into the pot — the liquid should come about halfway up the sides of the meat, not cover it.
- 8Tuck in the thyme, rosemary, and bay leaves around the roast. Cover with a tight-fitting lid and transfer to the oven.
- 9Cook for 2 hours undisturbed. After 2 hours, add the carrots and potatoes around the roast. Replace the lid and return to the oven.
- 10Cook for an additional 1.5 to 2 hours, until the roast is completely fork-tender and pulls apart with minimal resistance. Total oven time is 3.5 to 4 hours depending on the size of your roast.
- 11Remove the roast and vegetables from the pot and tent loosely with foil to rest for 10 minutes. Remove and discard the bay leaves, thyme, and rosemary sprigs.
- 12For gravy: Skim excess fat from the cooking liquid. Bring the liquid to a simmer over medium heat on the stovetop. Whisk in the cornstarch slurry and cook, stirring, for 2 to 3 minutes until thickened to your liking. Taste and adjust seasoning.
- 13Pull or slice the roast and serve with the vegetables and gravy poured over the top.
Nutrition Information
Estimated per serving: 1 of 6 servings.
Estimated from the ingredients and quantities in this recipe using standard food-composition values. Brand choices, trimming, cooking loss, optional ingredients, and actual portion size can change the numbers. How we calculate nutrition estimates.
Pro Tips
- Do not rush the sear. That crust is where the flavor lives. If your kitchen fills with smoke, good — that means you're doing it right. Open a window and keep going.
- Chuck roast is the correct cut for this. It has the right fat marbling to stay moist through a long braise. A leaner cut will dry out and resent you for it.
- If your roast isn't quite falling apart at the 3.5-hour mark, put it back in for another 30 minutes. Low and slow is forgiving. It will get there. Unlike some people I have cooked for.
Substitutions
Storage Instructions
Store leftover pot roast with its braising liquid in an airtight container in the refrigerator for up to 4 days. The fat will solidify on top when cold — skim it off before reheating. Reheat gently in a covered pot over low heat or in the microwave at 50% power to avoid drying out the meat. Freeze in airtight containers for up to 3 months; thaw overnight in the refrigerator before reheating.
Make Ahead
Pot roast is genuinely better the next day. The collagen that dissolved during braising thickens the liquid overnight and the flavor deepens considerably. Make it a full day ahead, refrigerate the whole pot, skim the fat, and reheat covered in a 300°F oven for 30 to 40 minutes or on the stovetop over low heat until warmed through.
Make It a Meal
Pair this recipe with a side, bread, and something sweet from the FAFO Kitchen.
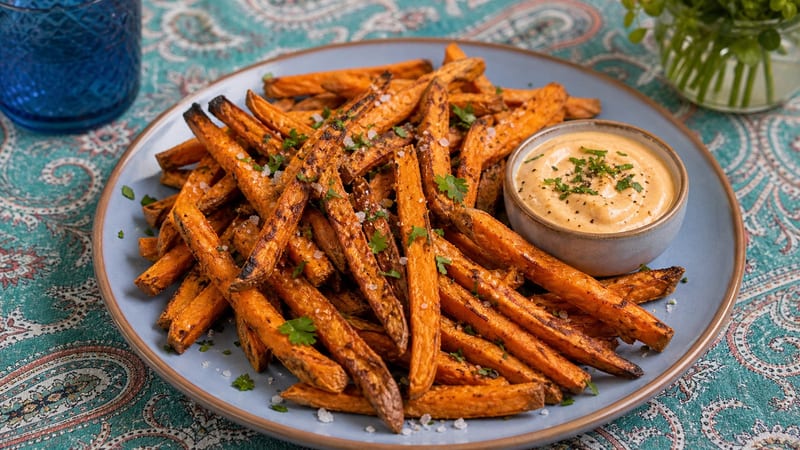
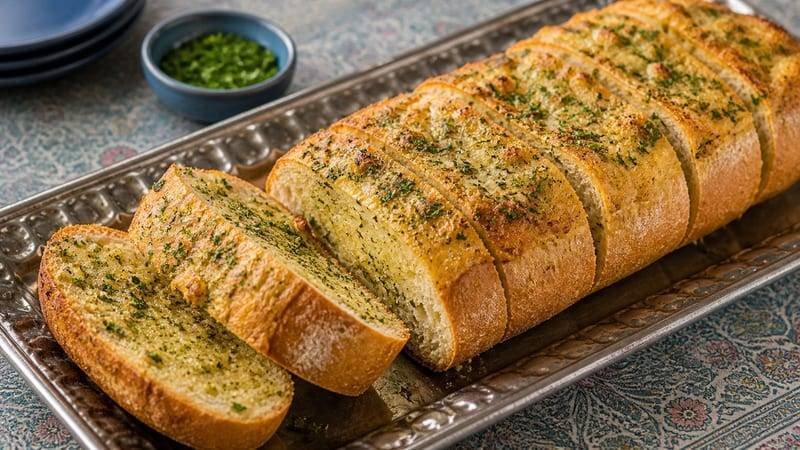
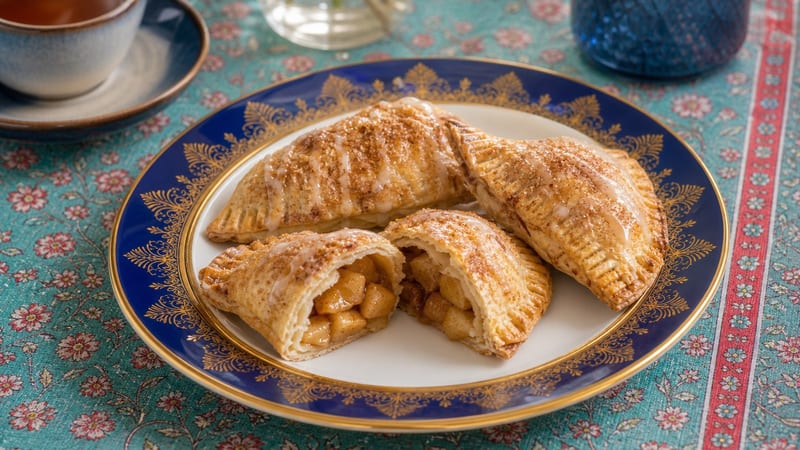
More Like This
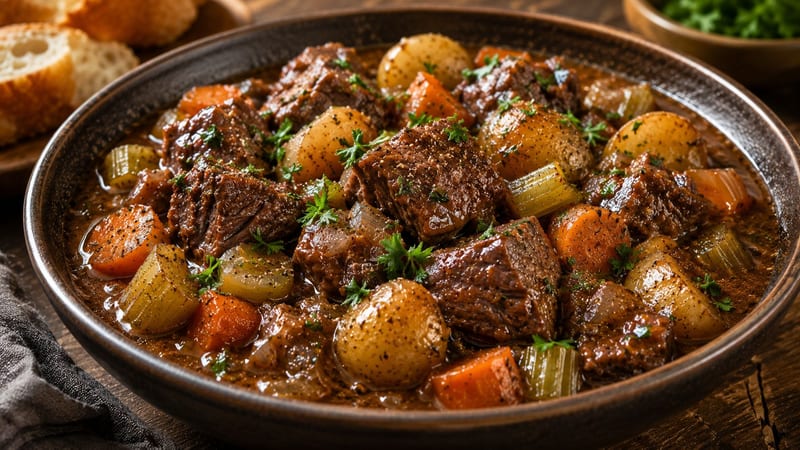 Slow Cooker Pot RoastBoth feature Chuck Roast
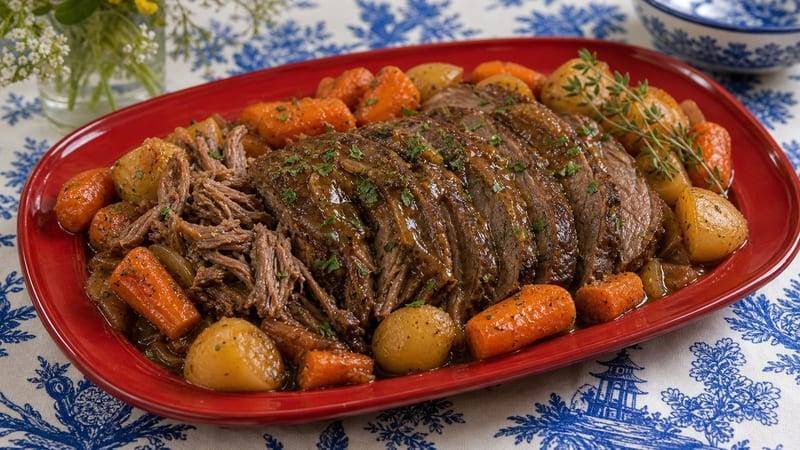 Instant Pot Pot Roast with CarrotsBoth feature Chuck Roast
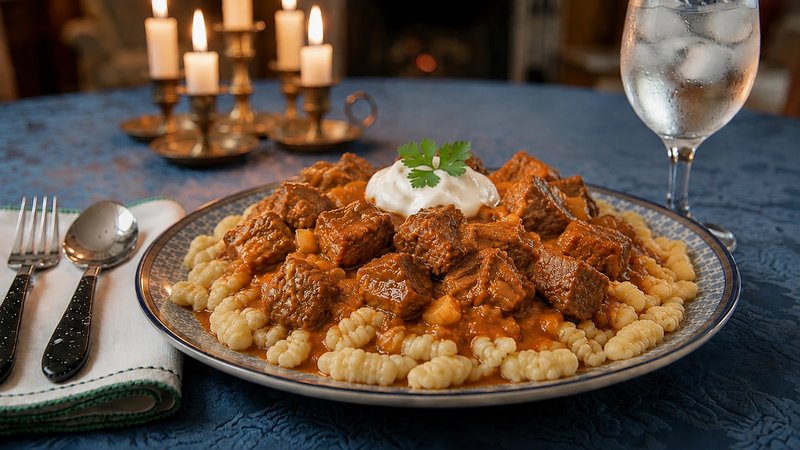 Hungarian Goulash with Homemade SpaetzleBoth feature Chuck Roast
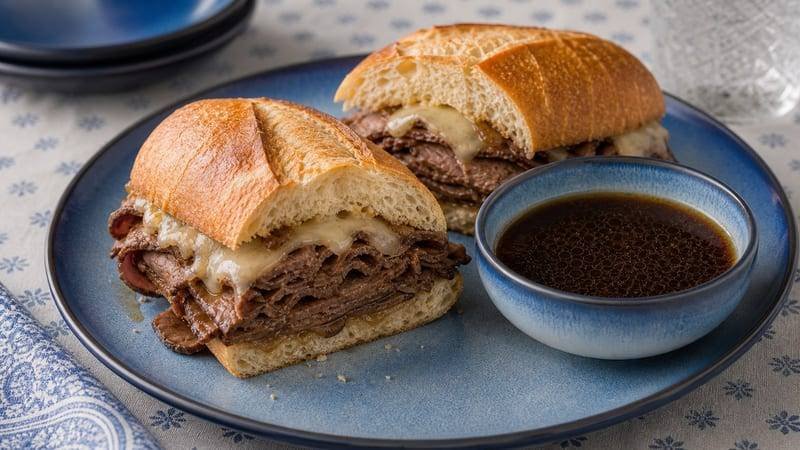 French Dip SandwichBoth feature Chuck Roast
You Might Also Like

Finish With Dessert
Try this next
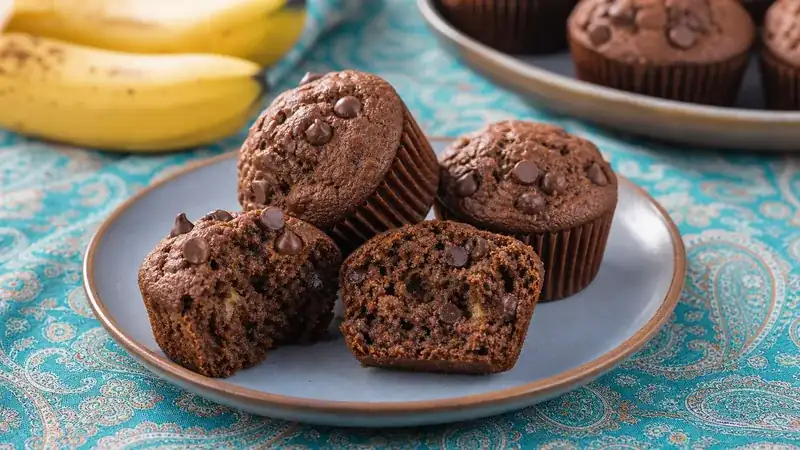
Chocolate Banana Muffins
View recipe →