

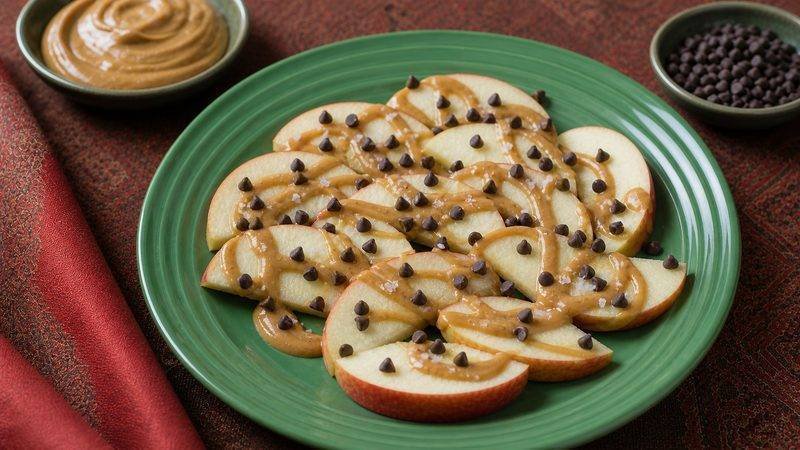
Apple Nachos
To make Apple Nachos, build a quick snack around apple, peanut butter, and chocolate chips and finish it while the toppings still have something to grab onto. It works because the sweet part gets backup from crunch, salt, or contrast instead of going one-note.
Apple nachos are built on a very reasonable question: what if we treated sliced fruit with the same lack of restraint normally reserved for tortilla chips? Thin apple slices go down in overlapping layers, warm peanut butter gets drizzled across the top, and chocolate chips plus chopped nuts or granola stick wherever they land. The warm peanut butter matters because it loosens enough to pour and stays tacky long enough to grab the toppings instead of leaving you with a plate of apples and a suspicious pile of chocolate chips at the bottom.
A pinch of flaky salt at the end is small but useful—it sharpens the peanut butter and chocolate while keeping the whole snack from tasting one-note sweet. Serve these right away while the apples are crisp and the toppings are still where you put them. There is no oven work, no dough, and no dessert fork required, which puts apple nachos in that useful category between “I made something” and “I found things in the pantry and displayed excellent judgment.” Put the plate in the middle of the table and expect everyone to start politely before abandoning the concept of personal space somewhere around the second layer.
Ingredients
- 3 apples, thinly sliced
- 1/3 cup creamy peanut butter, warmed
- 1/4 cup chocolate chips
- 2 tablespoons chopped nuts or granola
- Pinch of flaky salt
Instructions
- 1Arrange the apple slices, slightly overlapping, on a large plate.
- 2Warm the peanut butter for 15 to 20 seconds in the microwave until pourable, then drizzle it over the apples.
- 3Scatter the chocolate chips and nuts or granola over the top while the peanut butter is still warm and tacky.
- 4Sprinkle with flaky salt and serve right away.
Nutrition Information
Estimated per serving: 1 of 8 servings.
Estimated from the ingredients and quantities in this recipe using standard food-composition values. Brand choices, trimming, cooking loss, optional ingredients, and actual portion size can change the numbers. How we calculate nutrition estimates.
Pro Tips
- A little salt helps most sweet snacks taste bigger.
- Do the drizzling before the base dries out or cools too much.
- Texture contrast is the whole point here.
Substitutions
Storage Instructions
Apple nachos are best eaten right away. If you have leftovers, cover and refrigerate them for up to 1 day; the apples will soften and brown and the toppings will lose some crunch.
Make Ahead
Measure the toppings ahead, but slice the apples and assemble the plate close to serving so the fruit stays crisp.
Freezing
Do not freeze assembled apple nachos. Thawed apples turn soft and watery, and the toppings lose their texture; this snack is best made fresh.
Frequently Asked Questions
Can I make Apple Nachos ahead of time?
Prepare the filling and toppings for Apple Nachos ahead and refrigerate them separately. Assemble or crisp the final dish just before serving so tortillas, lettuce, chips, or wrappers do not turn soggy.
How do I store leftover Apple Nachos?
Most of these keep best in a cool spot or the refrigerator for 2 to 4 days depending on the base.
Can I freeze Apple Nachos after cooking?
I would not freeze the finished Apple Nachos. The texture is noticeably better fresh or refrigerated; freezing can make the dairy, fruit, vegetables, or emulsified components watery or grainy.
Can I substitute ingredients in Apple Nachos?
Yes. Tested adjustments on this recipe include Dark chocolate, white chocolate, or peanut butter all behave differently but all behave well.; Toasted nuts or sprinkles can finish the top depending on the audience.; and Fruit works better when sliced thinner than you first think..
What's the most common mistake when making Apple Nachos?
A little salt helps most sweet snacks taste bigger.
How long does it take to make Apple Nachos?
About 25 minutes from start to finish — including 10 minutes of active cooking.
More Like This
 Air Fryer Apple Hand PiesBoth feature Apple
 Apple CrispBoth feature Apple
 French Apple CakeBoth feature Apple
 Air Fryer Buffalo CauliflowerSimilar FAFO recipe
You Might Also Like


Finish With Dessert
Try this next
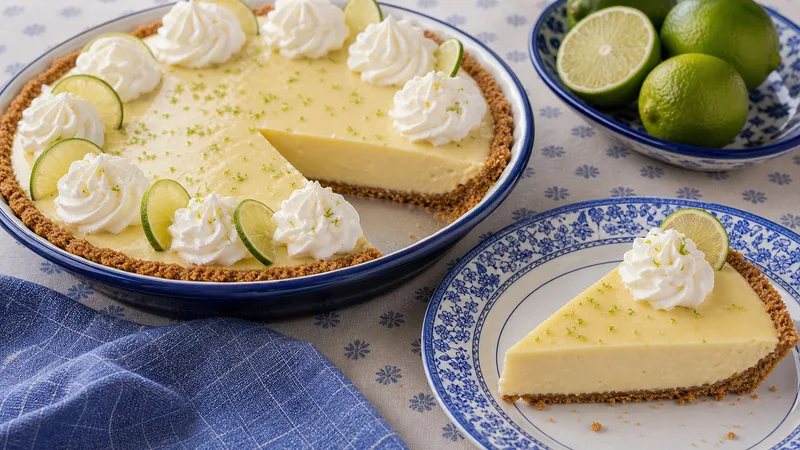
Key Lime Pie Recipe That Actually Tastes Like Key Limes
View recipe →